Designing cut
files for printing and cutting out Digital scrapbook
elements with the Cricut Explore.
To cut elements from a downloaded
digital scrapbook kit , I first open my favorite
software program Microsoft Digital Image**.
I bring in all the elements that I might want to cut
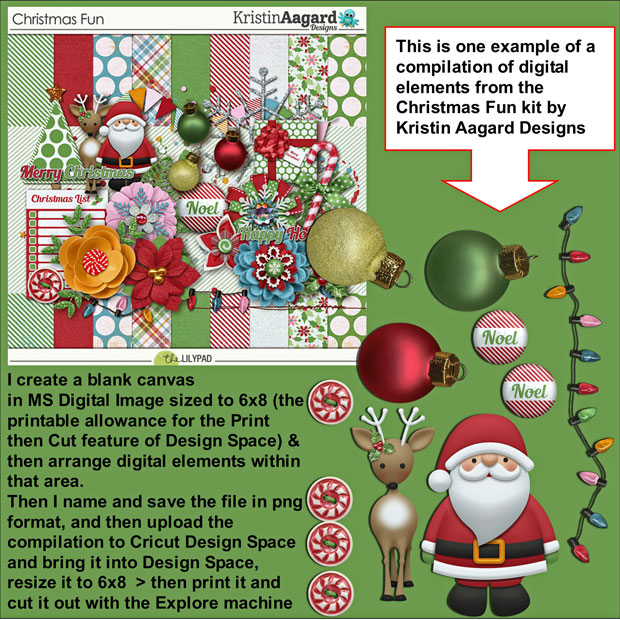
into the program. Next I create a new blank canvas and
size it 6 inches wide by 8 inches (or 8.5 inches) -
which is the printable size area allowance for the
Print then Cut feature of the Cricut Explore. **Microsoft Digital Image (I own MDI Suite 2006) is no longer produced or sold by Microsoft, but can be found on Ebay. There are several other offline software photo/graphic editing programs that can be used**
Note: I prefer to work in my offline software, assembling compilations etc. prior to uploading them to Design Space. But because the majority of images in Digi Kits are in transparent png format, you can upload the individual images and arrange them on the Design Space work area and Print and Cut them. You can also upload background papers and use as fill patterns when working in Design Space. (again, I prefer to do those type things in my Offline software, prior to uploading to Design Space)
Note the max printable area for Design Space is:
6x8.5 inches if using Firefox or IE, if using Google Chrome the max area is 5.5x8 inches.
Below are a few pictures showing my own method, for this example I am using elements from the kit available on lilypad.com by Kristen Aagard named Christmas Fun
( Kit was offered free until July 30, 2016 >> http://the-lilypad.com/store/Christmas-Fun...tin-Aagard.html )
I arrange and size the elements on the blank canvas
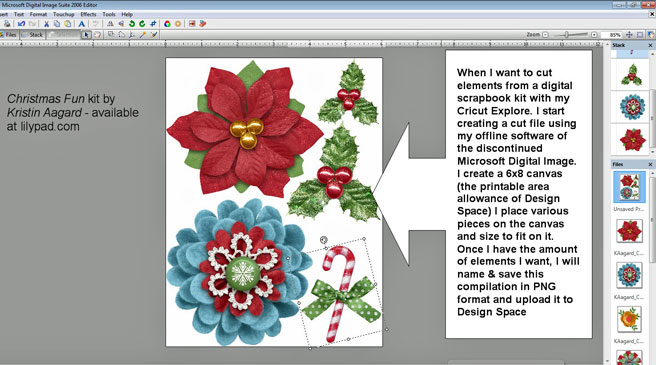
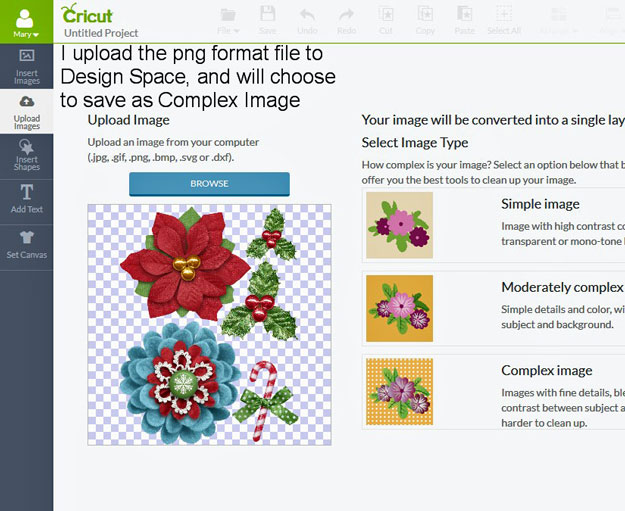
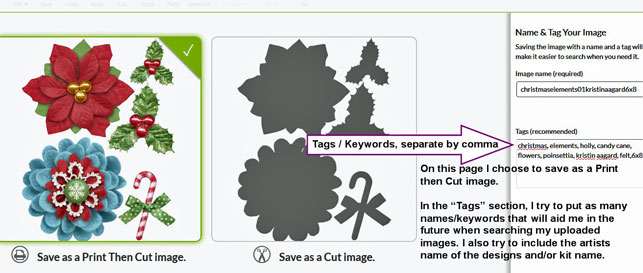
I name and save the compilation in PNG format and upload this image to Cricut Design Space
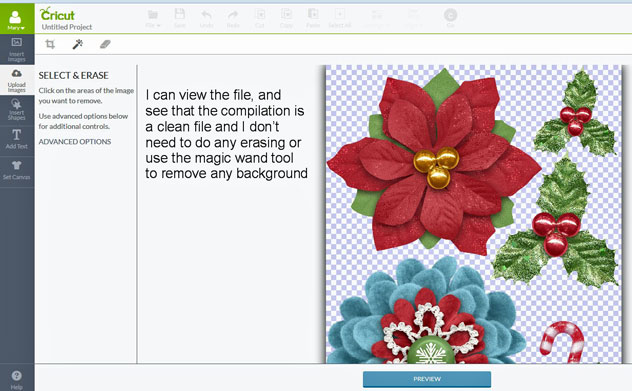
I see that the image is fine for cutting, it doesn't need to be cleaned up or anything erased
On the save as a print then cut screen, I enter Tags or Keywords that I hope will aid me,
if I need or want to search for this image.
I try to include the artists or the kits name.
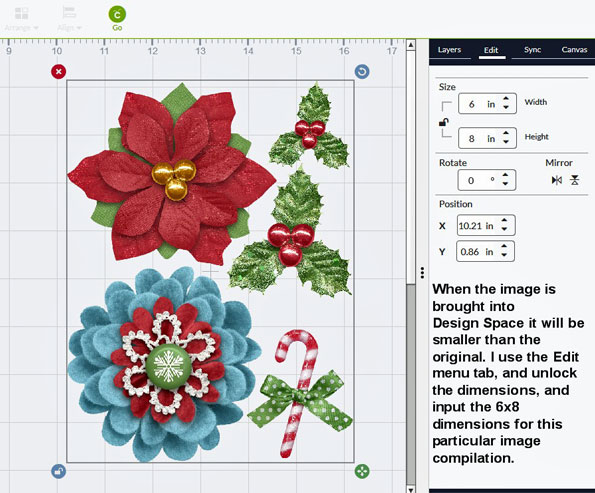
When I bring the image into the workspace area of Design Space, it comes in smaller than what I need it to be. So I unlock the dimensions, and using the edit tab, I input the size that I had originally designed 6x8.
Before pressing the GO button, I always name and save my project, to my projects on Design Space
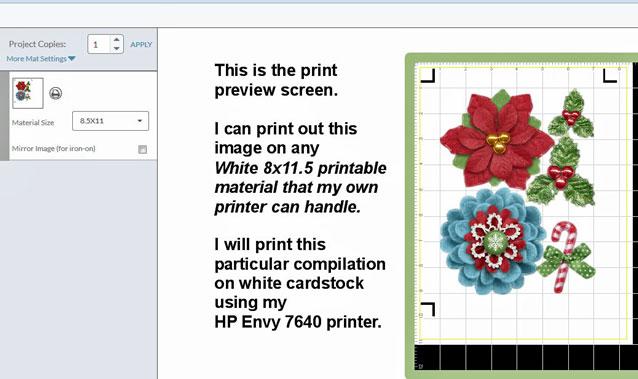
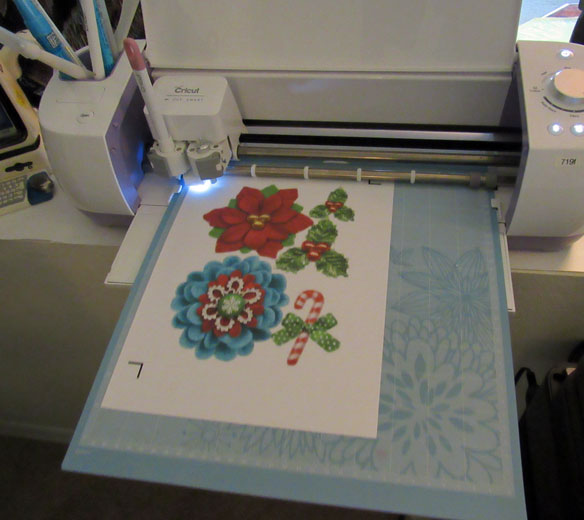
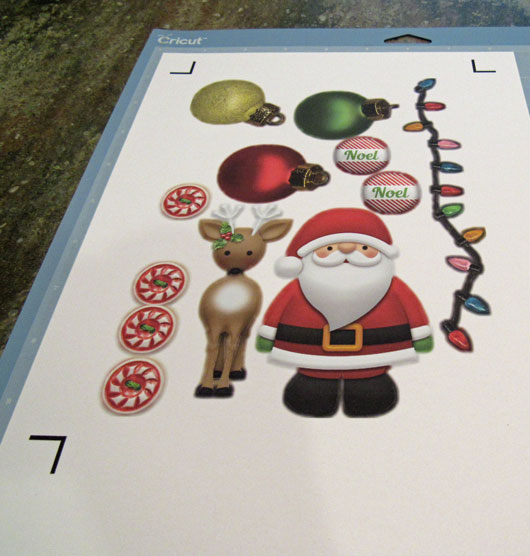
This is screen shot of Print preview screen, I will print this image out using my HP Envy printer on white cardstock and then place printed cardstock on my Cricut Mat and have the Cricut Explore machine cut out the digital elements.
Printing and Cutting
I print out the compilation using my HP Envy 7640 model printer on white card stock.
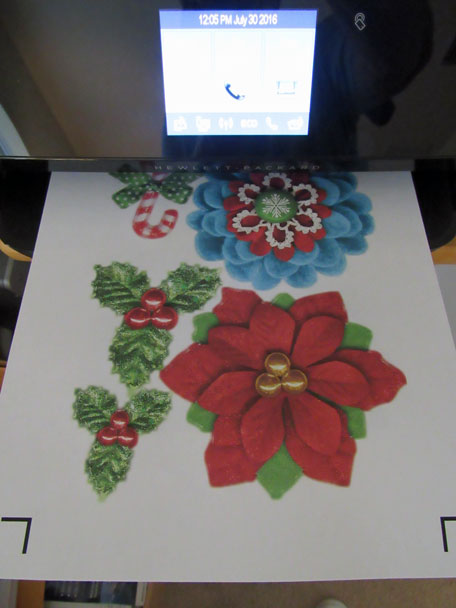
I place on the Cricut Mat and then place it in the machine to Cut
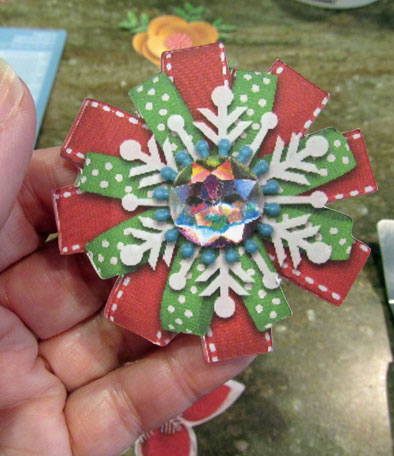
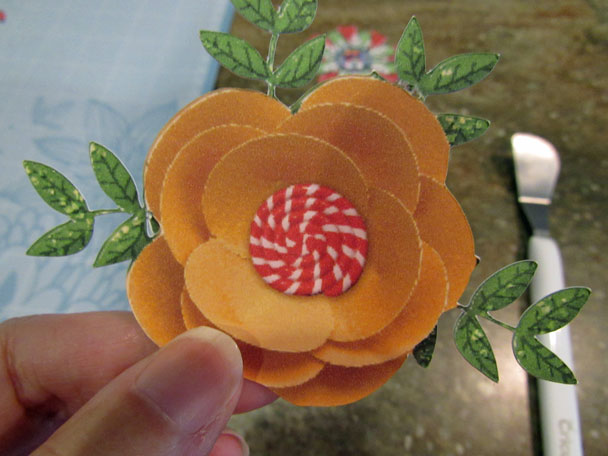
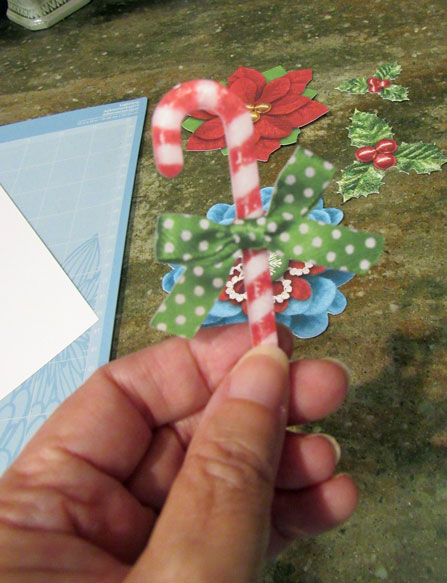
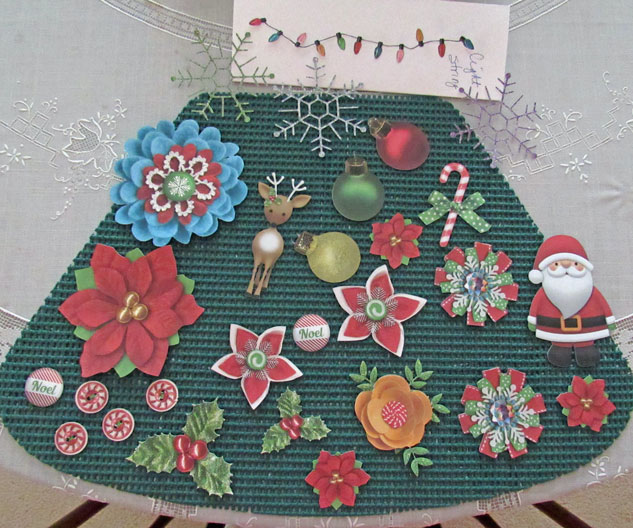
Examples of the cut files
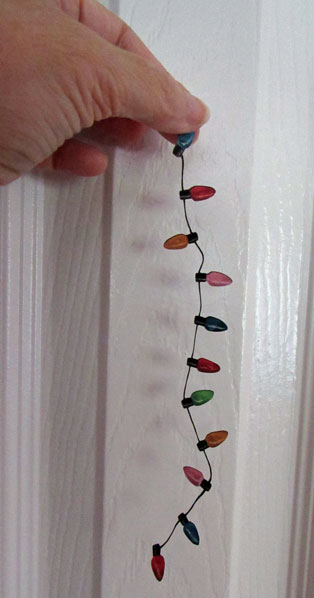
In one of my compilations, I had to re-do the Light String image - when I first cut it, the string between the bulbs was too thin and it broke.
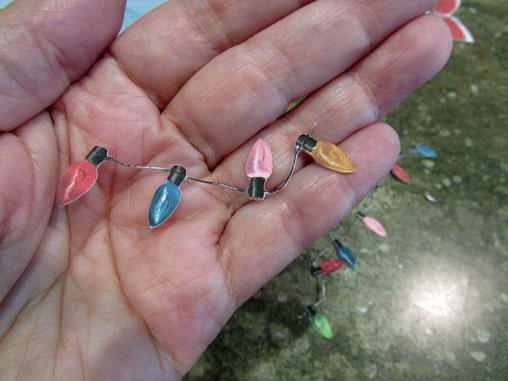
So in my software program Microsoft Digital Image - I added an edge all around the light string image, I added a 2 pixel black line around the entire image & uploaded a new compilation to Design Space
- this time it cut the light string beautifully
Here's all the images that I cut from this Digital Kit, I can use these elements for cards, and tags, etc.
this page made Aug 2016
other pages showing my experience with the Print then Cut feature using Design Space & Cricut Explore cutting machine