I have had my Explore since mid October 2014, and its now Nov. 22 when I am creating this web page.
So far all I have really done with the machine, is use the Print, then Cut option. I have such a vast amount of clipart on my hard drive, that I have been purchasing since 2002. The majority of my clip art came from the wonderful but now gone website of pccrafter.com. But I also have large collections from DAISIE Company and NitWit Collections and other sites. Many of the artists whose art I am using to cut images - are no longer selling downloadable clip art sets online. So what I am showing in photos here on my web pages, may or may NOT be available for purchase. If I do have current information about the art being available, I always try to provide that information.
Please remember that the Artists always retain copyrights, and the Terms of Use that were in place when art was purchased (or even obtained for Free), remain in effect, even if the art is no longer being sold or available online. Most FREE items are offered for PERSONAL USE ONLY. And please be mindful of just right clicking and saving images you may find on Pinterest, Blogs, or Picasa albums, as most of those images are being shared illegally and against an artists TOU's and Copyrights. Read carefully information & terms of use about images being offered in Blogs, etc. Please Support artists by buying from reputable online stores and obeying their Terms of Use.
Now on to what I've been up to since my page 2
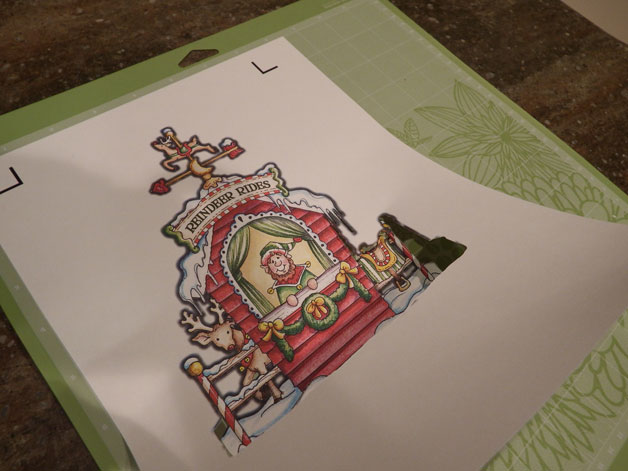
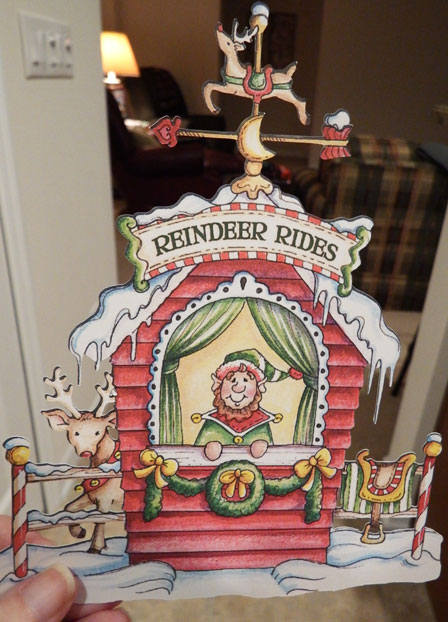
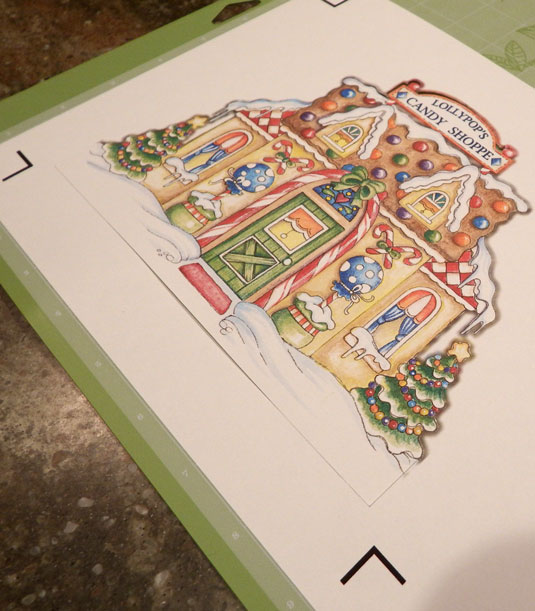
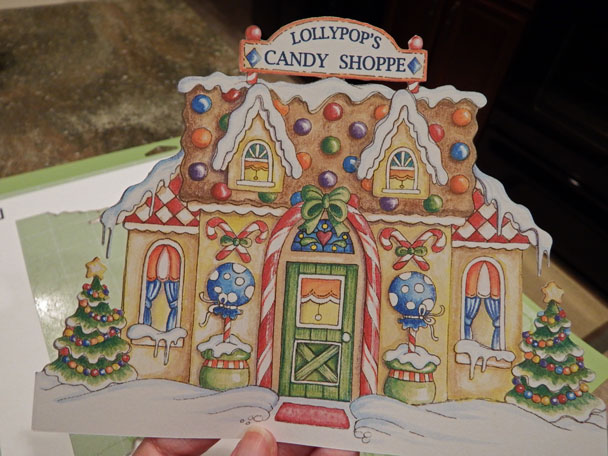
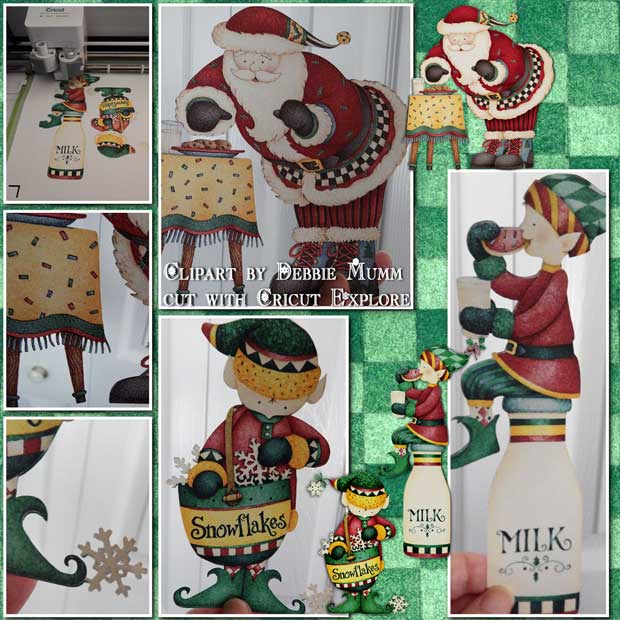
Laurie Furnell has a delightful kit Santa's Christmas Village which is available at her Etsy Store
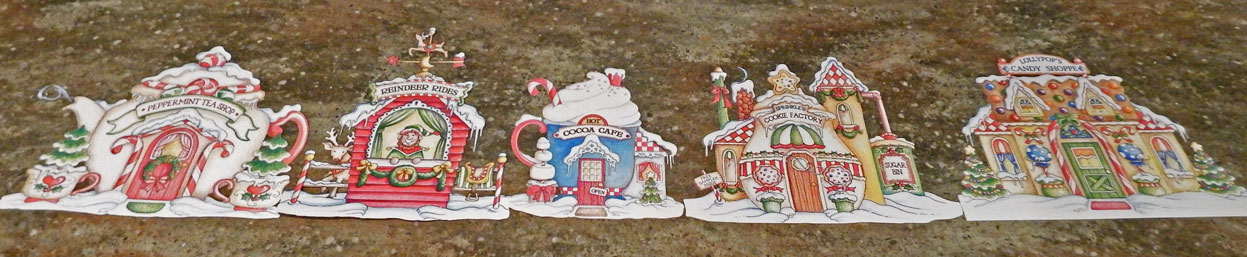
These are the pieces I have cut using my Explore from this clip art collection by Laurie Furnell.
Note: I printed these on light cardstock, with my HP Photosmart Printer model 7510.
Because images have to be printed within a specific sized area - I am limited to how big an image can be printed and cut.
What I have found helpful is to prepare all of my images before I upload them to Cricut Design Space (the online application that must be used
by all Cricut Explore owners).
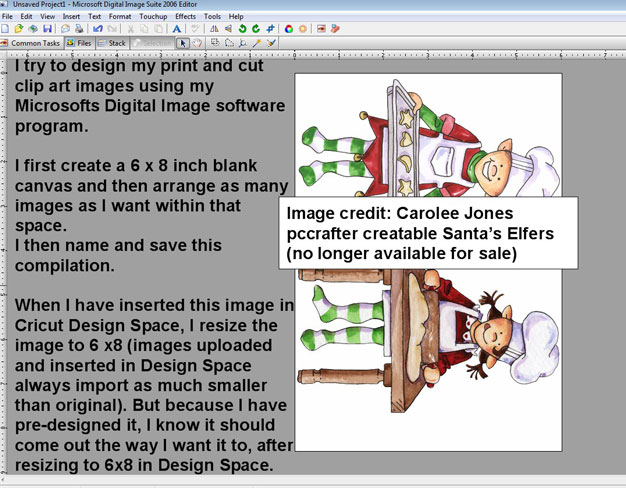
So I create a Blank Canvas, in my favorite graphic/photo editing software program, Microsoft's discontinued Digital Image program.
I own Digital Image Suite 2006.
But anyone who has a graphics/photo editing program should be able to create a new canvas and size it to the dimensions you want.
So I size my blank canvas to 6 inches wide to 8 inches high.
Then I bring in any/all graphics or clip art that I want to eventually cut,
and arrange on that canvas each image(s) that I will want to cut.
If the image is in JPG format, I use my magic wand tool, and select any/all white areas on the graphic,
that I want removed and delete it.
Then I arrange the graphic inside that 6x8 inch area. Once happy, I name and save the image in PNG format,
to a folder on my computer, that I will remember and associate with such images.
I have created a folder, named Clipart2CutwCricut and inside have created
subfolders with artists name and name of collection.
Most of the images I have bought since 2006 are already in PNG format, so that makes it easy.
But removing the white from surrounding a jpg image can be accomplished
using any software program that has a magic wand tool.
One program that I also like for removing the white areas from jpg images is the FREE program>> Paint.net
not to be confused with PAINT, the program that comes with most Windows operating system computers.
Paint.net has more features & tools than PAINT.
I've used it often for that purpose of removing the white areas around jpg format clip art with the Magic Wand
selection tool.
I find that sometimes the magic wand tool is easier to control in Paint.net than in Digital Image,
especially for leaving intact the fine lines of a graphic,
such as those of butterfly antenna, etc.
When I remove the white areas on jpg images using either Digital Image or Paint.net -
I name and save the image in PNG format to retain its transparency.
I also use Digital Image or Paint.net to remove a background of an image to isolate a particular graphic,
and create a stand alone image,
also saved as a PNG formatted image. That takes a bit more work,
but I use a combination of using the free hand draw tool to draw
around areas close to the image I want to isolate and delete it,
than use the magic wand and or transparency brush to clean up areas closer to the edges of the graphic.
I made a webpage that is several years old,
(so some links within page to other websites, may no longer be available,or software programs may have newer versions
than I used at the time)
that you are welcome to look at that show how I use these options to isolate images from a background.
Note: all images cut from a background, still retain copyrights of the artist and terms of use must be followed.
Pre-designing images for uploading to Design Space:
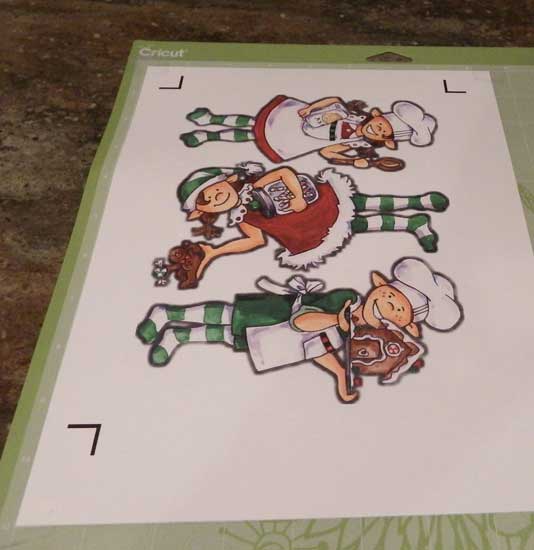
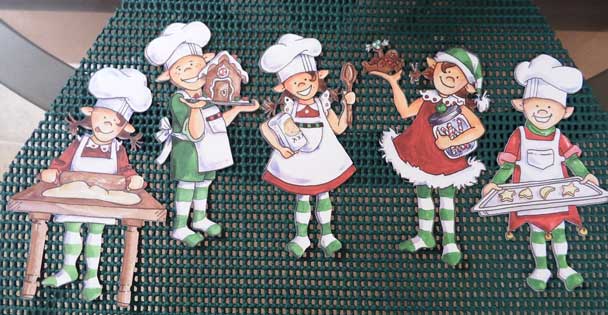
For some images, I am able to place more than one graphic inside the 6 by 8 area. I name and save the compilation in png format as a single image.
as I did for these Elf images from a pccrafter collection by Carolee Jones
(She had at least 3 collections that I used elf images from >
Santa's Elfers, and Santa's Lil Elfers & Santa's Lil Elfers 2.) **clip art collections by Carolee are no longer available for sale.
I pre-design my images, using Microsoft's Digital Image, I create a 6x8 inch blank canvas, bring in my graphics
and arrange on the 6x8 area, and save the compilation as a single image in PNG format
(or if I just have one image in the 6x8 area, I save that image)
I can also when pre-designing an image(s) add any text to the image etc.
I can create Word art or subway art using my own fonts or graphic alphabet images
to create word art etc. and have it fit within that 6x8 area, and save in PNG format ready
to upload to Design Space as a single image.
So I don't use the add text tools available within Design Space, and worry
about flattening layers etc. If I have pre-designed things, it's just much easier
for me to upload that image just the way I want it to be when printed.
Again, any photo/graphics editing software program should allow you to
create a blank canvas sized the way you want, and layout your images, text etc. within
that area, and saved as a single PNG formatted image.
Here is an example of the pre-designed and saved as a single PNG image,
on the Cricut mat, ready to be cut.
Please Note > when an image that you upload
to Design Space is brought into the canvas area of Design Space
it will come in very small compared to original. So I have to use the Edit option
to resize the image to fit that 6 by 8 area that is allowed for printing
on a 8x11 printable material.
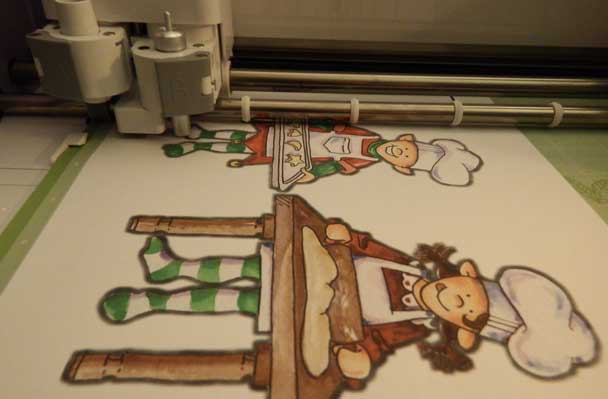
After printing on my material with my printer (HP Photosmart 7510)
I place on Cricut mat and Load to my Explore for it to be cut.
for this image I put 2 graphics inside my 6x8 blank canvas and saved as a single png image
to be cut
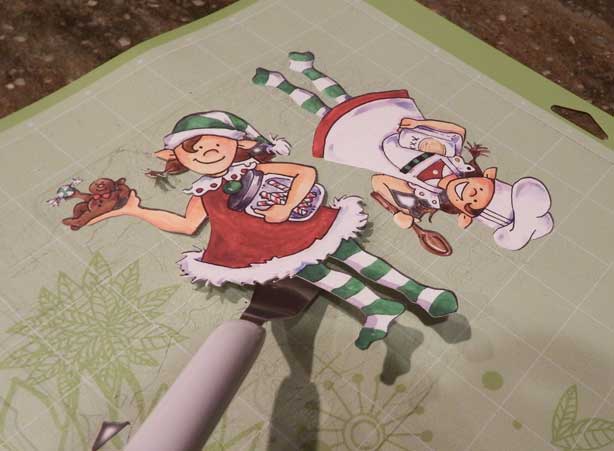
pic of all my elves cut out with my Cricut Explore
You can print on any printable material that your own home printer can handle, such as
magnet sheets, printable sticker sheets, printable vinyl, printable fabric etc.
Design Space assumes you will be printing out on material that is 8.5 by 11 inch size.
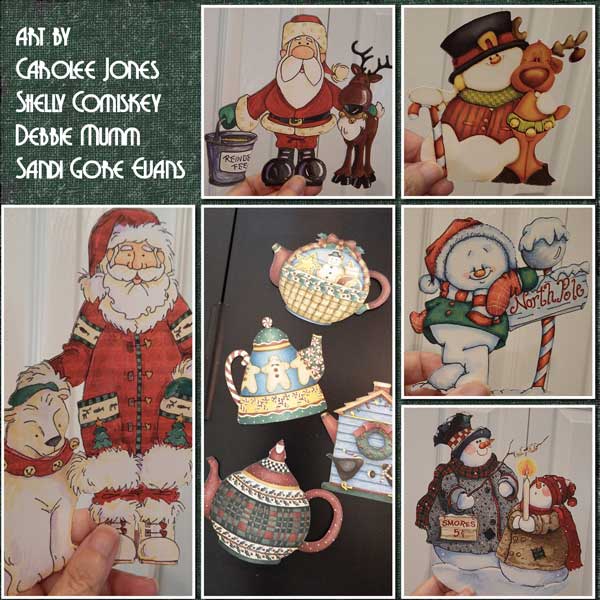
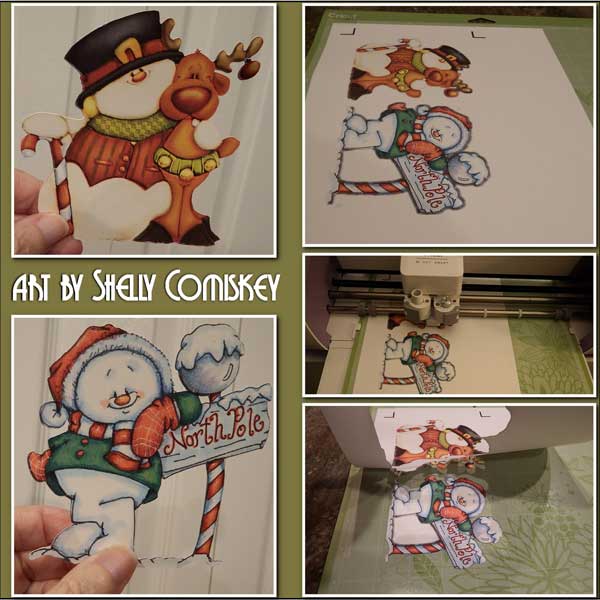
More images I have cut recently (well, in Nov. 2014)
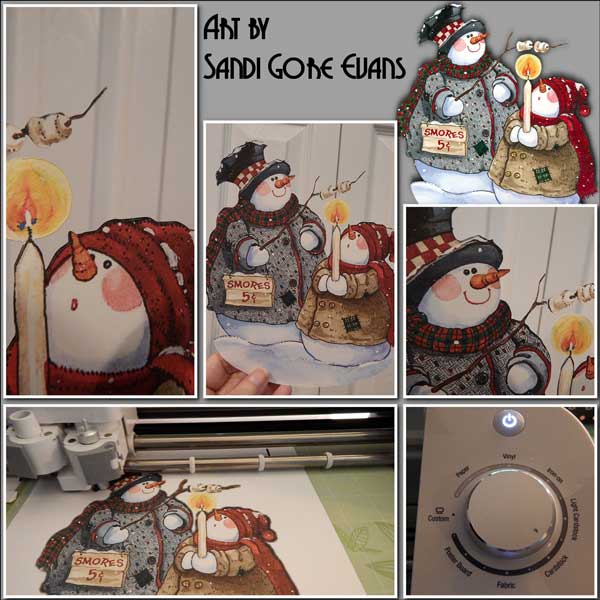
Image credit: from a former collection once offered for sale at Daisie Company.com, by
the late Sandi Gore Evans. (Clip art sets by Sandi Gore Evans, are NO longer available)
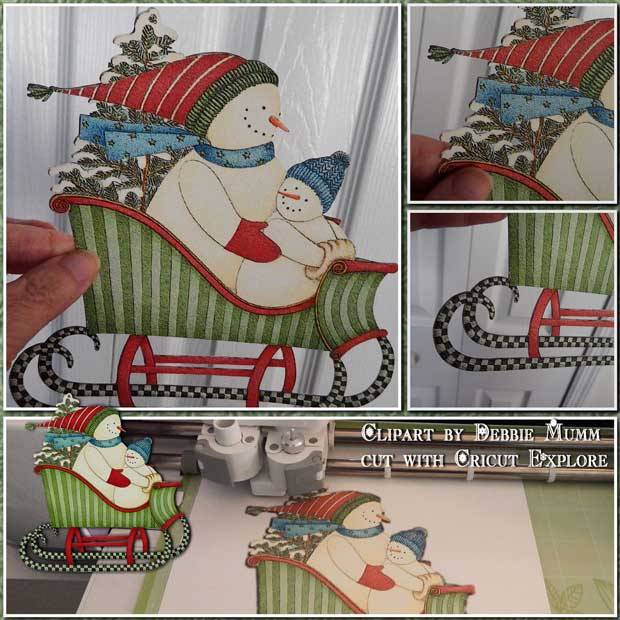
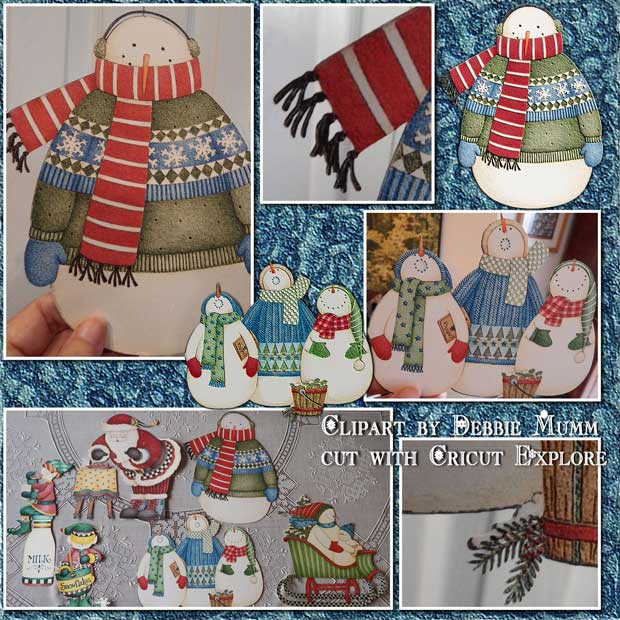
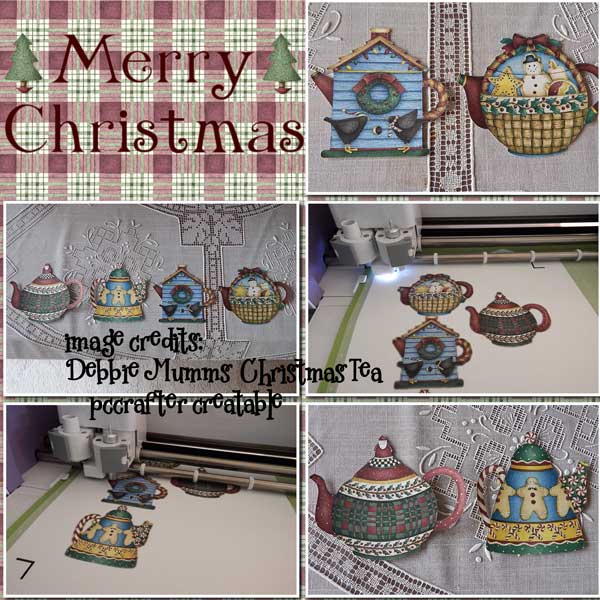
These collages show images cut using images from the
Debbie Mumm, Winter Wonders CD that she once upon a time
sold on her website.
She at one time offered 4 CDs with collections of clip art > a Winter CD, a Halloween/Fall CD,
a Summer CD, and a Celebrations CD. i own all four. I love all the delightful images that are included.
Unfortunately she no longer sells them. I also own several clip art collections
by Debbie Mumm that were once sold at the former pccrafter website.
Back to>> My webpage part 1 with information about the Explore and my experience with the Print then Cut feature
Back to>> My webpage part 2, with more examples of clip art I have cut with the Explore
new page created March 2015, Making Cards using features of my software programs and cutting with my Cricut Explore
http://sippingtea.com/tuts/cardscutwithcricutexplore.html
New page created 2016 >> How I Printed and Cut elements/images from a Digital Scrapbook Kit
http://sippingtea.com/tuts/printncutdigielements.html
Facebook Group for Cricut Explore owners > https://www.facebook.com/groups/CricutLoversGuide/
My favorite Facebook Group >> Lets Learn Cricut Explore hosted by Debbie O'Neal of Scrap Me Quick Designs (see her Youtube channel for wonderful tutorials or Cricut Surprise Box Deal reveals >> https://www.youtube.com/channel/UCXxeo8HdSKbQ7G6nn1q9Ozw )